Usually I go for more relaxed, unfussy quilts and if my corners don't meet, or something's a bit wonky, I let it go and get on with more important stuff. I don't get too anal about things.
But this a quilt I'm making for my sister-in-law, so I really wanted to do a good job, which is why i decided to use this technique.
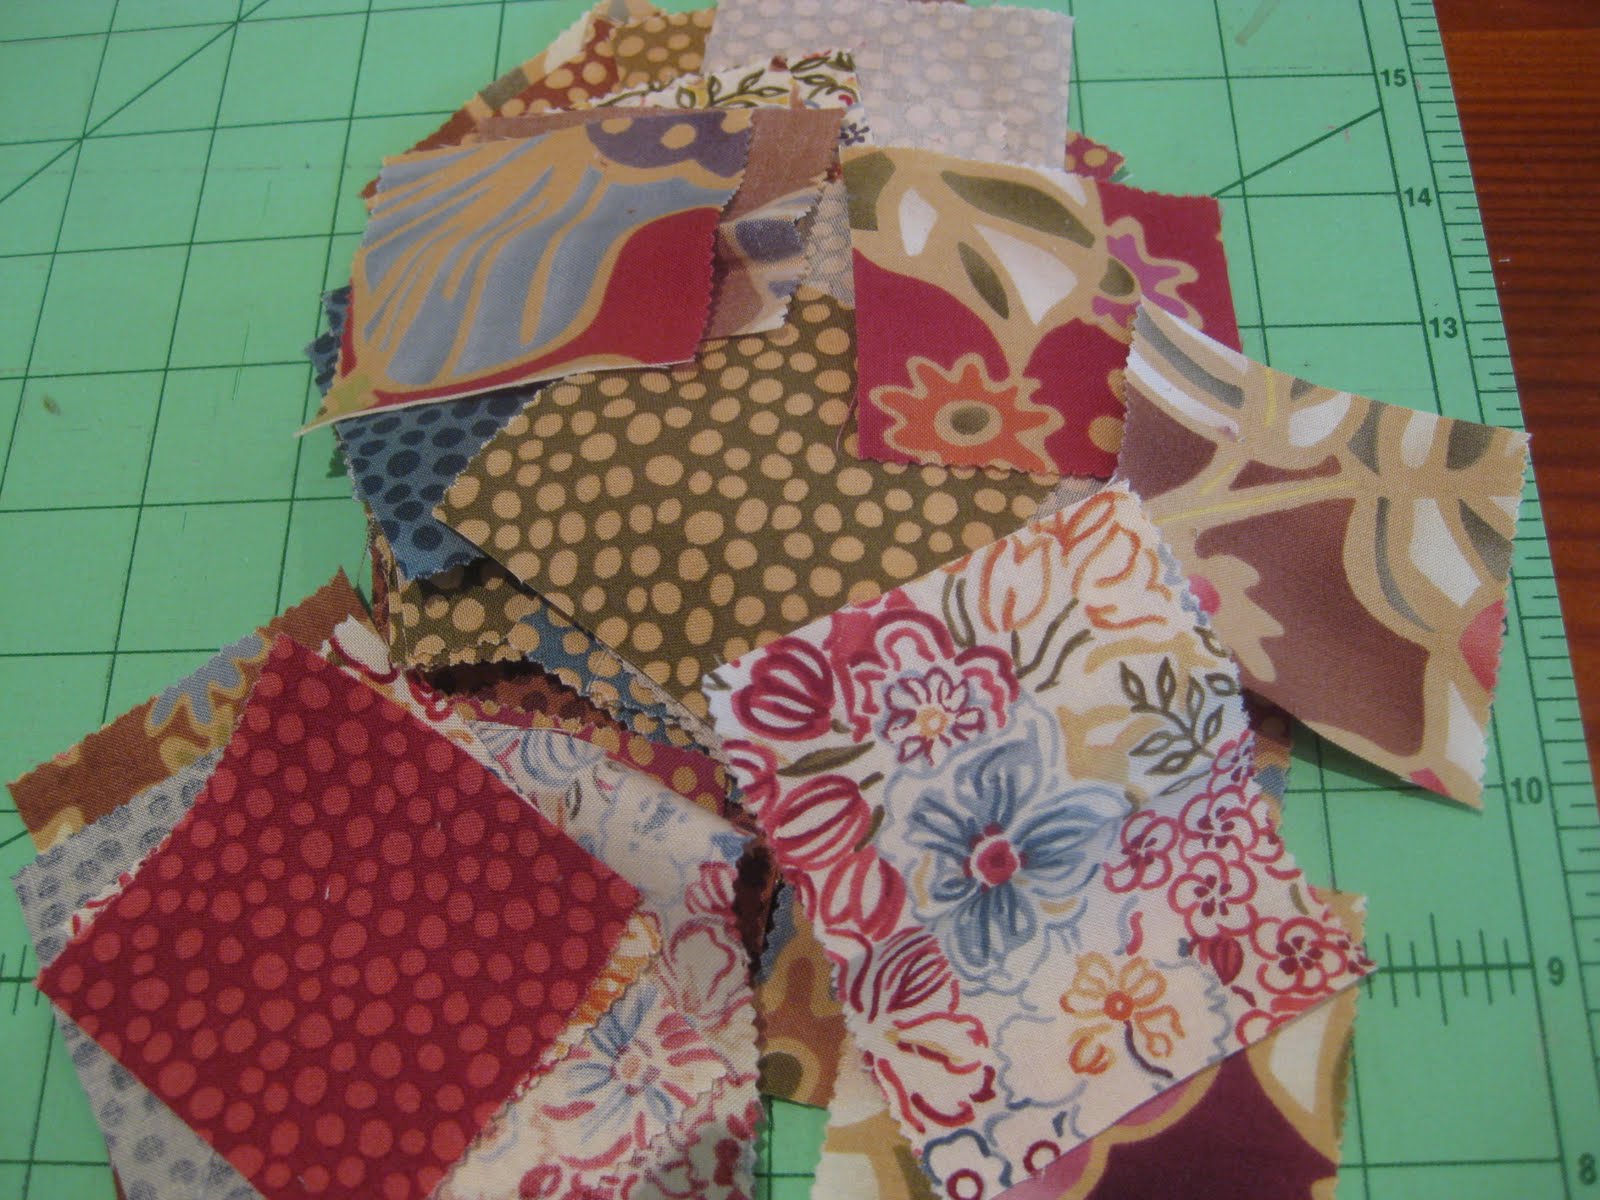
Jelly-roll is the kiddy name (don't ask me why) given to a tight roll of fabric strips already machine cut to 2.5 inches wide (everything in quiltland is archaically imperial — I blame it on the US).
{Added later: Of course, you can just cut your own squares of fabric — you don't need a roll. The advantage is that the strips are very accurately cut (a bonus for slapdash old moi), and they coordinate — but you really can't see exactly what you've got until to untie and unroll it to inspect. This one I'm using is from Moda.}
You will need some super-light, gossamer-fine fusible interfacing.
And a good supply of tea, and, once you get to the sewing, some good music (Cecilia Bartoli for me today), or podcasts, as the stitching is so easy and straight it's really, really boring.
1. Okay — the first step is to cut the jelly-roll strips into squares.
 I'm making my quilt top with nine panels of seven by seven squares, which I'll put together with sashing in three rows of three. So these instructions are for that — they can be adapted to make whatever you fancy, so long as the piecing is basically square or rectangle-based
2. Draw a grid of 2.5-inch squares on the non-adhesive side of your interfacing.
3. Turn it over so the glue side is up, place it on a nicely flattened folded towel — a light-coloured one so you can easily see your pen lines — then lay a fabric square neatly in every marked square on the interfacing. And remember: this is now adhesive side up.

4. When you have your pieces all arranged as you want them, and all neatly in place, gently put a cloth over it all, spray lightly with water and press so all your pieces will fuse with the interfacing. The next pic shows how it looks on the other side:

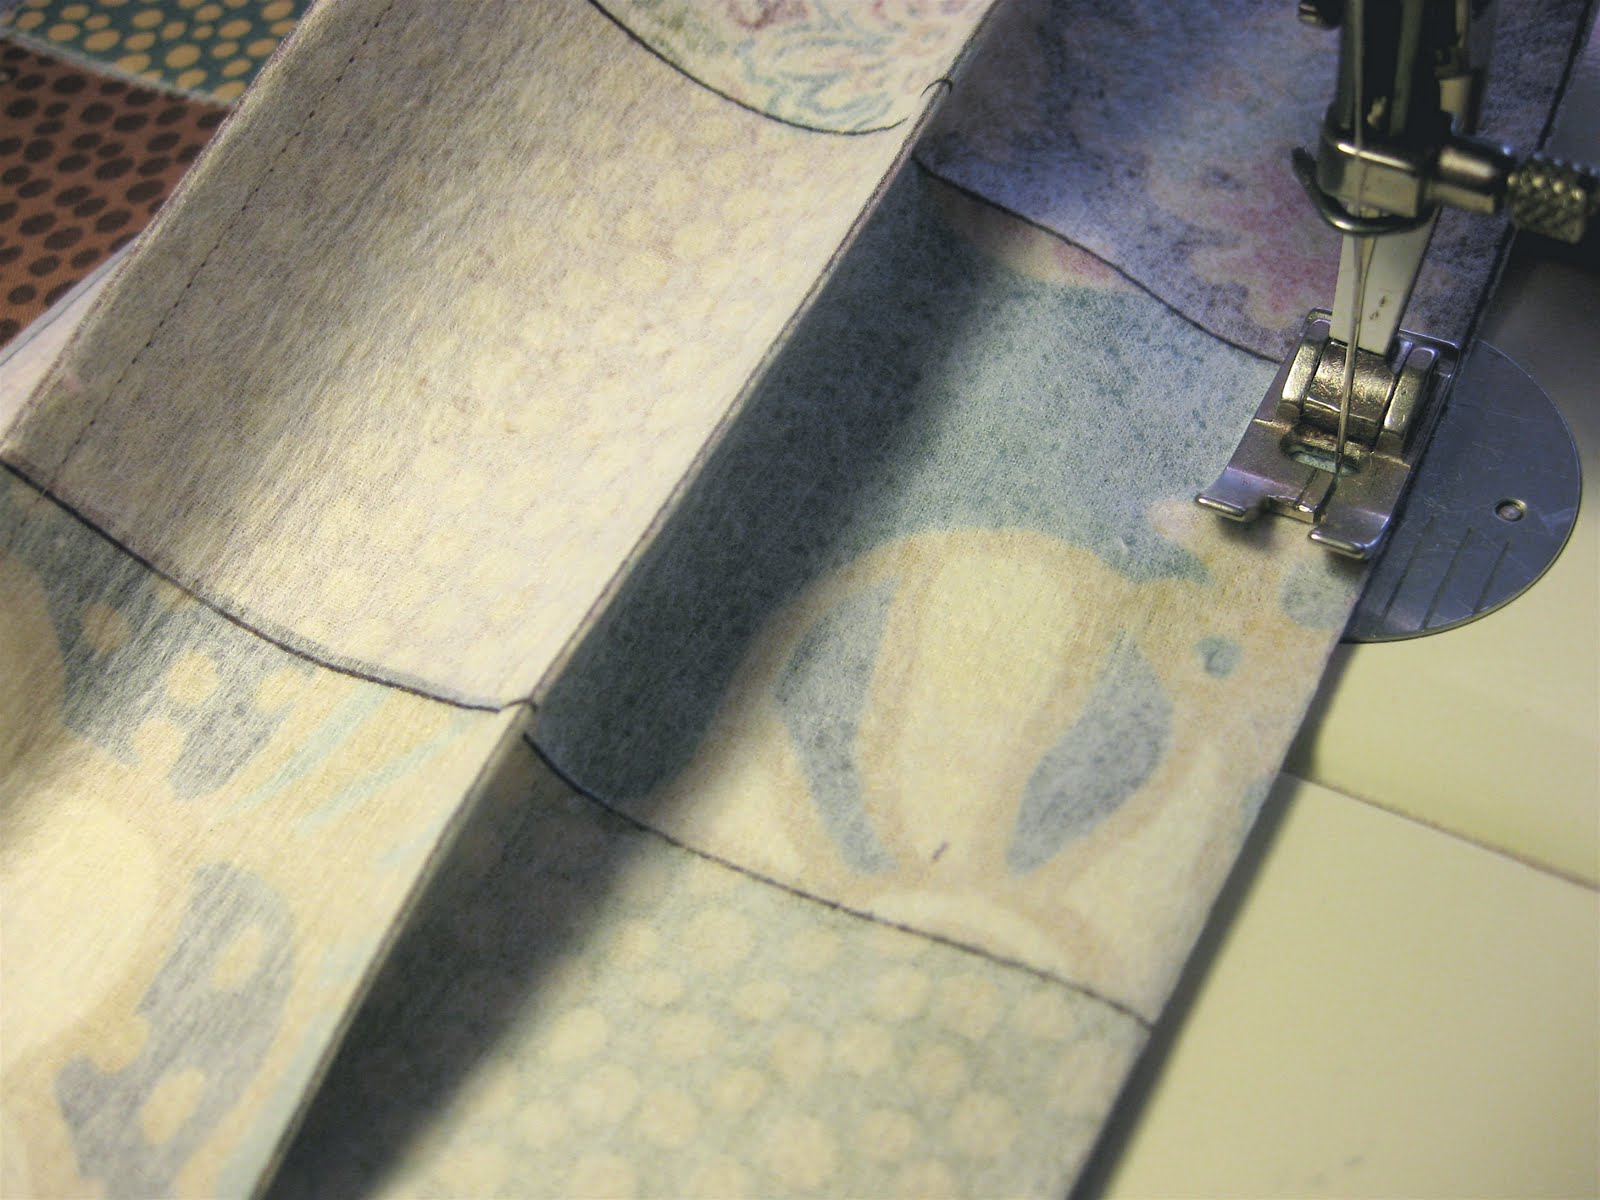
5. Once firmly stuck, lift the whole panel up, and fold right sides together along the first marked line (horizontal or vertical). You'll find this will happen very easily, you won't need to iron or pin anything. This is s-p-e-e-d-y piecing.
6. Stitch the fold — I used a quarter-inch seam allowance (even my 40-year-old Bernina is metric, but with the needle off centre, I was able to use the edge of the presser-foot as a guide.
7. Do the same for all the marked lines going in the same direction, then take your lovely sharp scissors (the ones you keep just for fabric!) and snip what we in newspaper trade call a poofteenth off the edge of the folds.
 Press so all the seam allowances lie neatly to one side.
8. Then repeat steps 5 and 6 working on the perpendicular folds.
 9. Press persuasively, making sure all the seam allowances lie the same way, gently pulling the fabric away from the seams so there are no puckers and everything ends up good and flat. Turn it over and voila!
 Perfect piecing, done in a flash, with every damn corner sweet, sharp and ship-shape, yessir.
1 comment:
That's amazing.
I've never seen this before.
Post a Comment